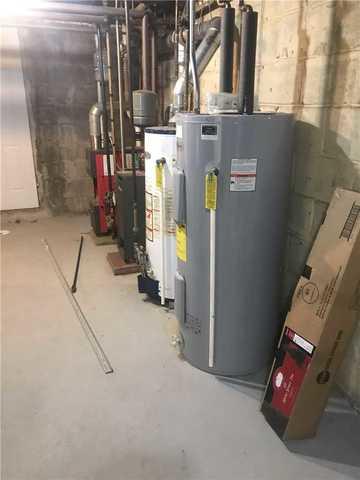
Prior to the waterproofing installation
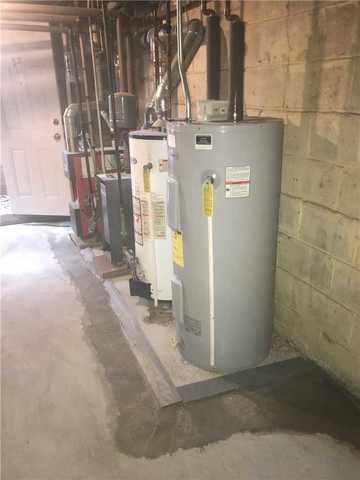
We're going to make sure these essential home appliances stay dry & undamaged!
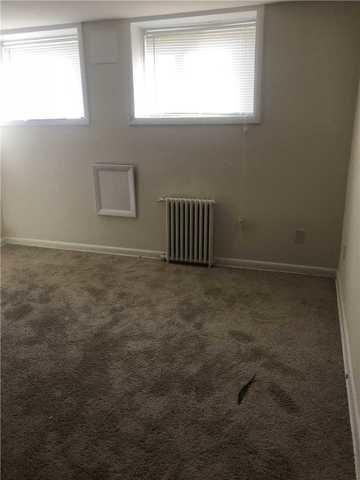
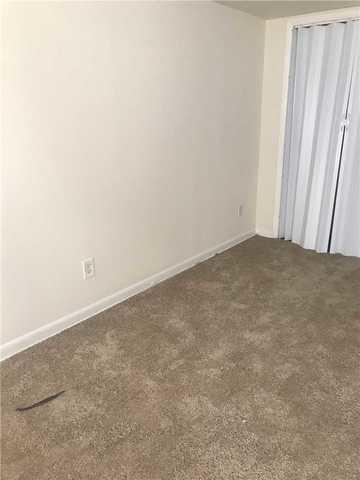
After Waterproofing
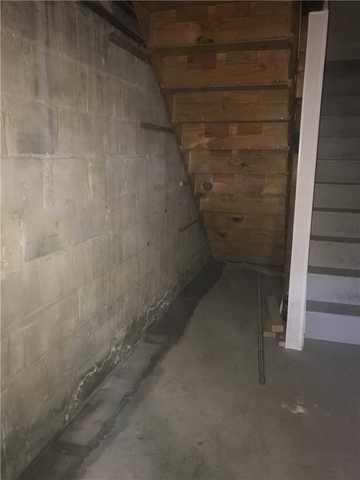
Waterproofing under the steps. Notice where the floor and the wall meet.
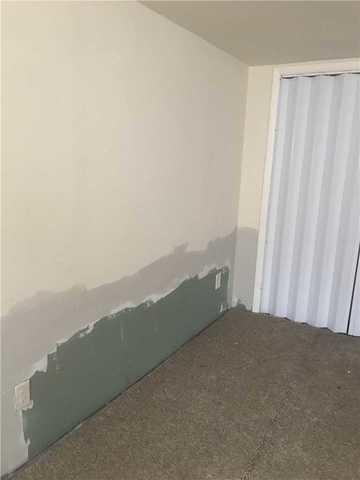
Post Wall Trim Installation
Finished look of the wall trim
First Look!
This basement was in need of some waterproofing attention, and our team was there to help!
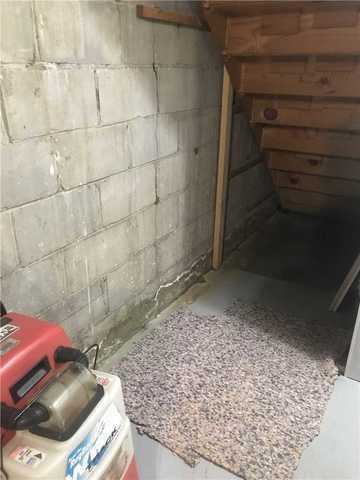
Before Waterproofing
Before putting the WaterGuard under the steps
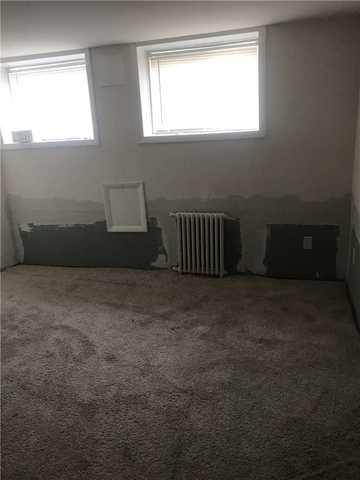
Prior to Wall Trim Installation
Last look at this wall w/o trim
Finished WaterGuard
Now these appliances are safe!
Post Waterproofing Installation
The results after installing the waterproofing system!


