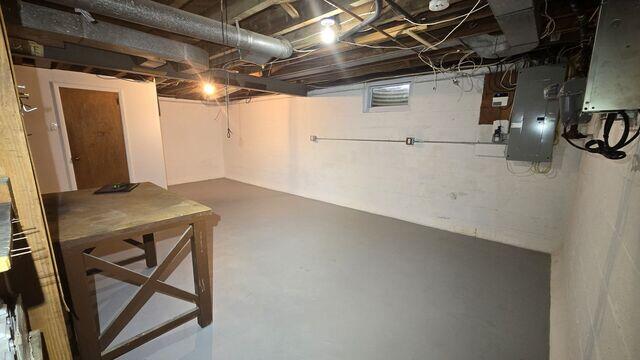
Before Waterproofing
This basement had no waterproofing system to protect it from the damage that resulted from flooding water.
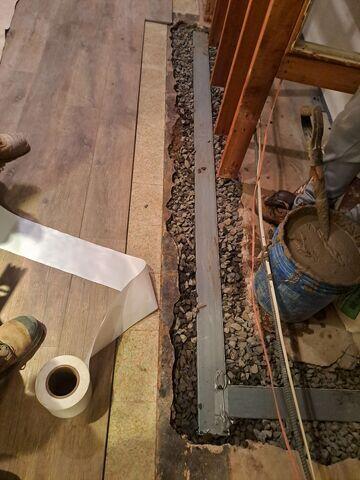
Installing WaterGuard Drains
Our crew digs a trench for our WaterGuard Drains to discreetly sit beneath the floor. The trench is backfilled with rocks to allow water to flow easily into the new drainage system.
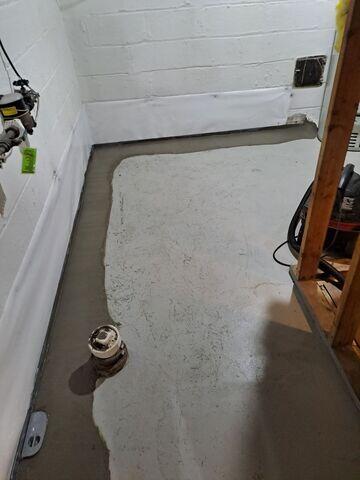
New Drainage System
WaterGuard is sealed with a layer of cement and a short strip of CleanSpace is lined along the bottom of the wall to direct leaking water downward into the new drains.
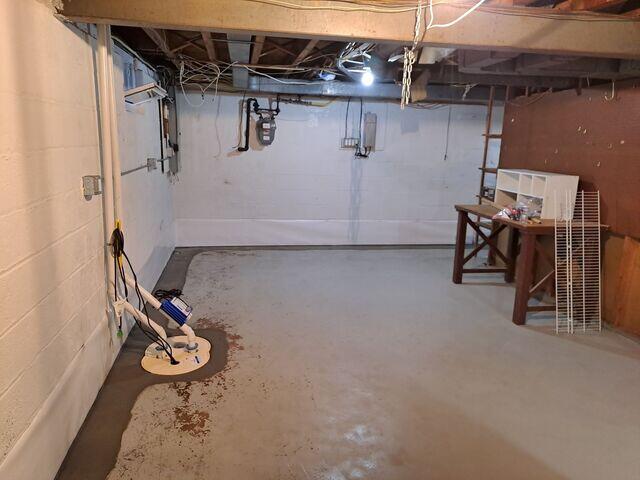
Waterproofed Basement
We completely transformed this basement into a dry and healthy environment inside the home. The homeowner can enjoy the space without fears of flooding and damage!