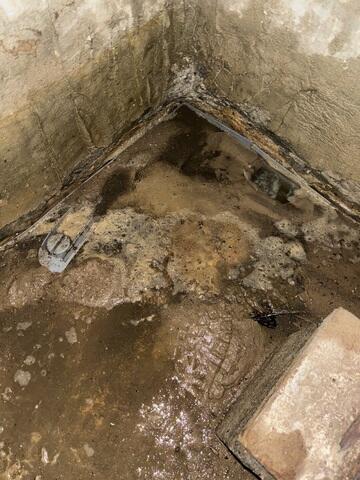
Before Waterproofing
The home's basement was suffering from leaking water building up with no way out of the basement. Water sitting in a basement like this can cause much more extensive damage if left untreated.
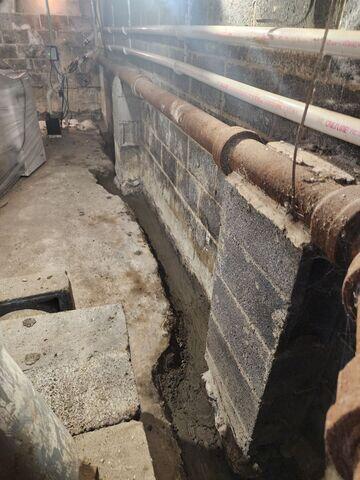
Installing Drainage System
Our crew digs a trench along the basement's perimeter to create a path for leaking water to flow into and make it to the sump pump.
WaterGuard Perimeter Drains
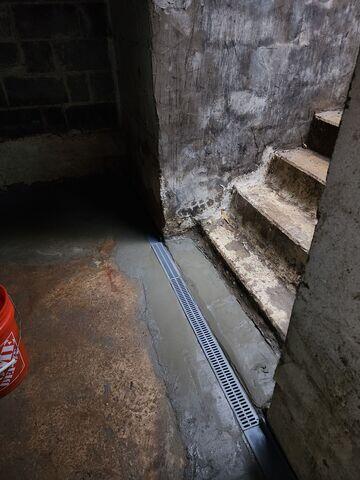
TrenchLock inserts are placed at the landing of the exterior stairs where greater water acceptance may be necessary.

Completed Drainage Installation
Our crew conceals the drainage system beneath a layer of cement. This basement is now guaranteed protection against leaking water without an intruding new installation.