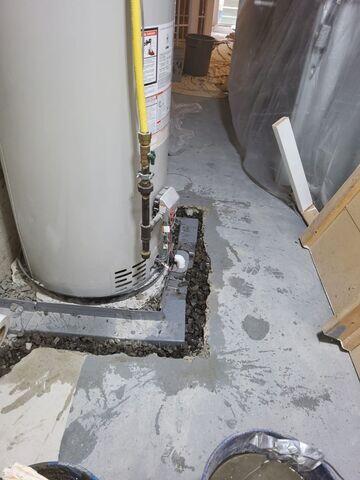
Installation
The process of installing our WaterGuard drainage system.
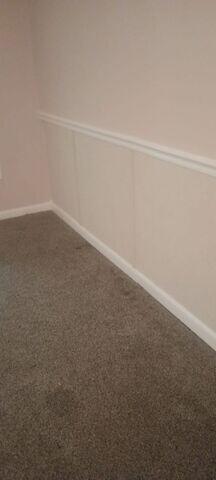
Wall Restoration
Drywall was removed to allow our team to access the basement footer. This photo shows the aftermath of our team restoring the wall afterward.
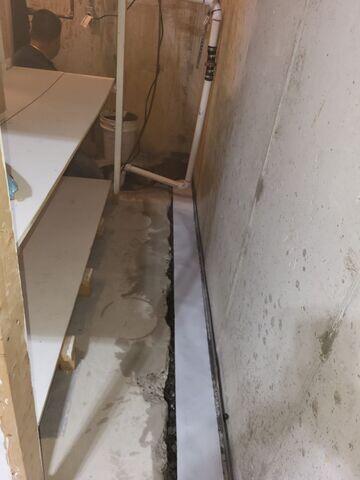
Drainage System Installation
Process of installing our WaterGuard.
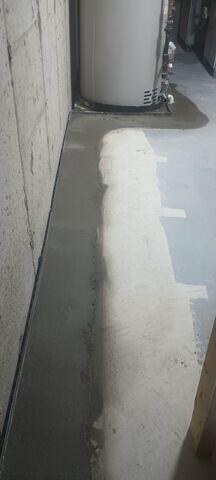
WaterGuard
Fresh concrete over the WaterGuard.


