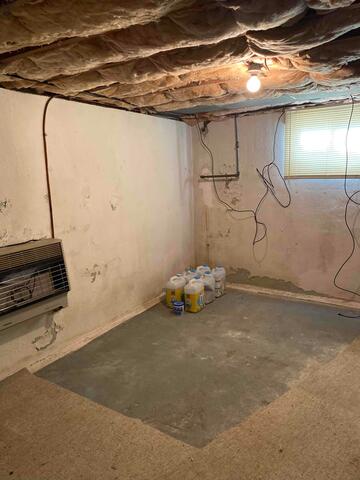
Damp Basement
The state of the basement before the waterproofing project.
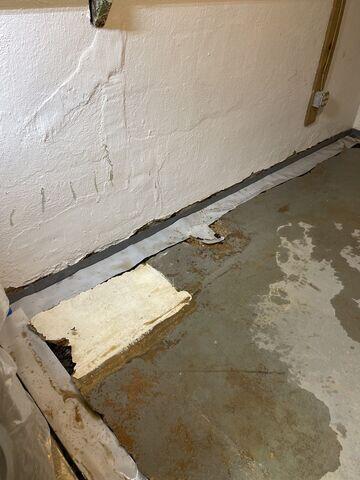
Drainage System Installation
The system was covered in a layer of a vapor barrier plastic. The final step was just to lay wet concrete and blend it into the existing concrete floor.
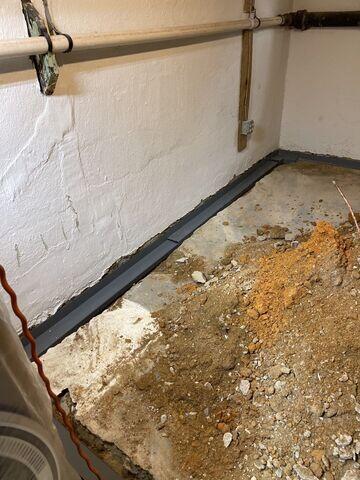
Drainage System
Our WaterGuard drainage system was installed along the basement footer.
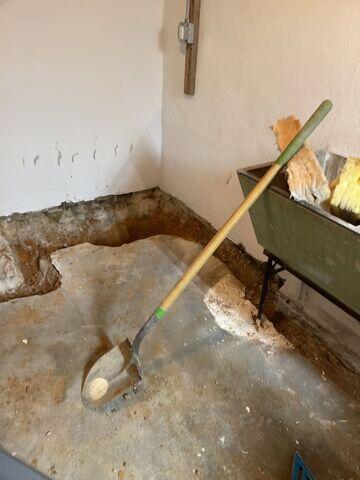
Trench
Wet dug out a trench along the footer of the basement foundation to make room for the installation of our WaterGuard drainage system.
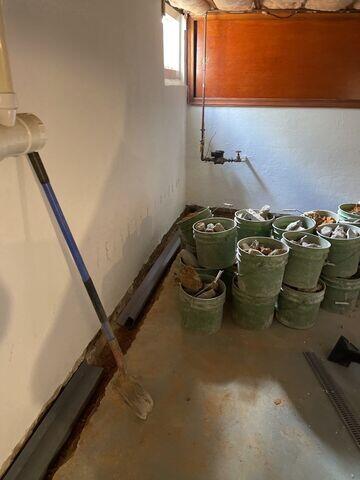
Installation
The drainage system had begun to be installed! Note the many buckets of concrete, filled after digging the trench along the footer.


