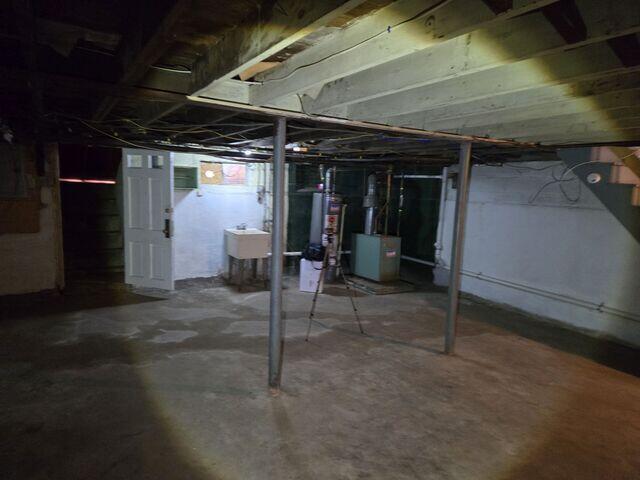
Wet Basement
A photo of the wet basement before the waterproofing project.
Trench Drain
In some areas of the basement, trench drain was a better option instead of WaterGuard. The two systems seamlessly blend with one another.
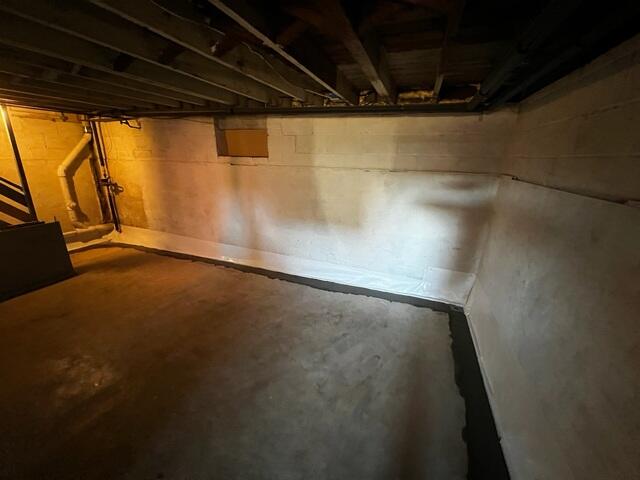
Drainage System
Our team installed our WaterGuard along the basement footer, around the perimeter.
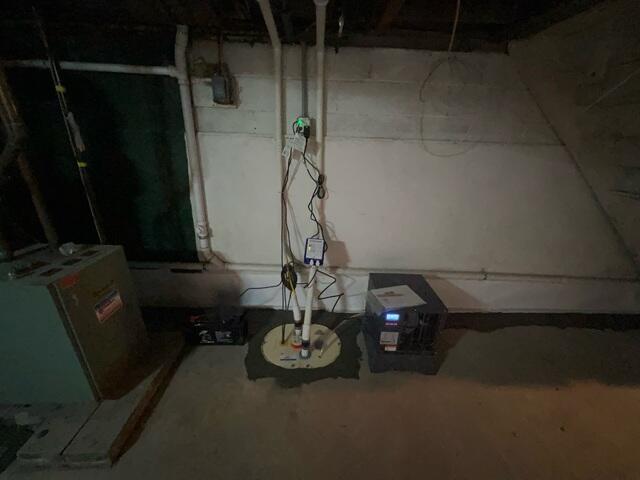
Sump Pump and Dehumidifier
A photo of the newly-installed TripleSafe sump pump system alongside the SaniDry Sedona dehumidifier.
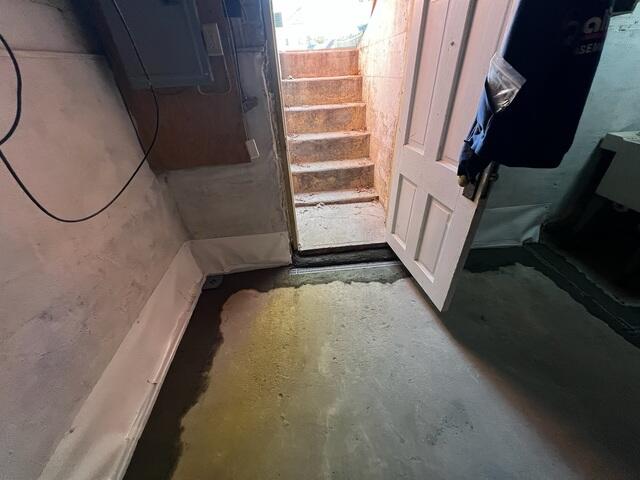
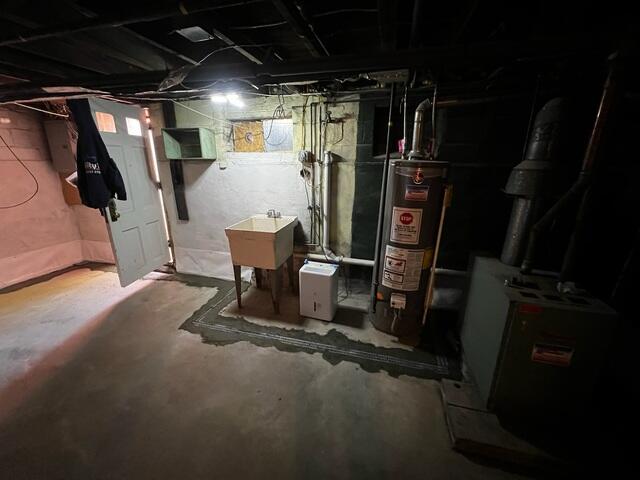
Entrance
Trench drain was placed at the basement entrance to collect any water seeping from under the door.


