
Before Photo
Here is a before photo of the crawl space.
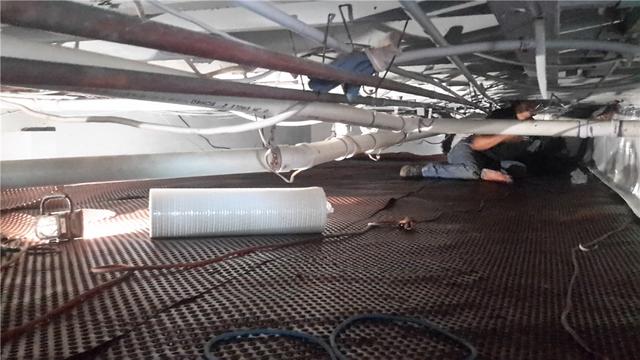
During Photo
Here is a photo of the drainage matting before the CleanSpace Moisture Barrier is installed.
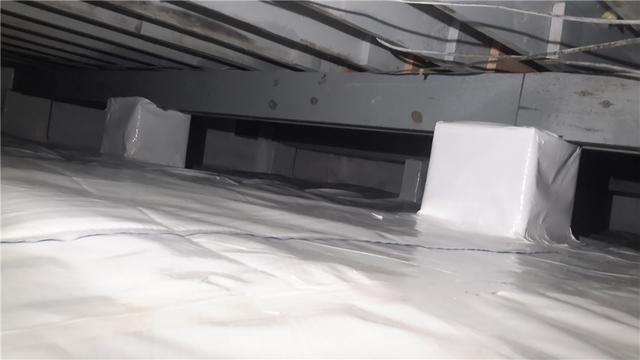
CleanSpace Installation
The CleanSpace Moisture Barrier is installed!

Crawl Space Vent Before
Old crawl space vent covers can rust and rot, allowing outside water to seep inside. It's also an attraction for pests to inhabit.

Crawl Space Vent After
We replaced the old crawl space vent cover with a more durable and sturdy cover.


