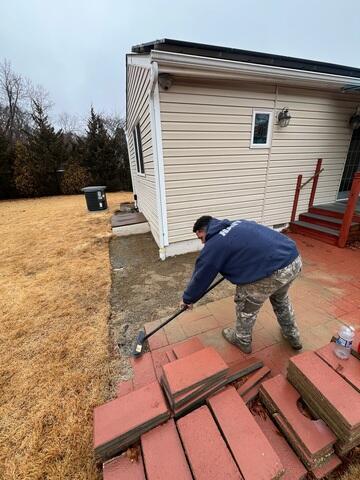
Brick Removal
The brick patio and pathway around the home was removed to make way for the installation of the under-ground Push Piers.
Progress
The brick walkway was peeled back and it was time to start digging to install the Push Piers!
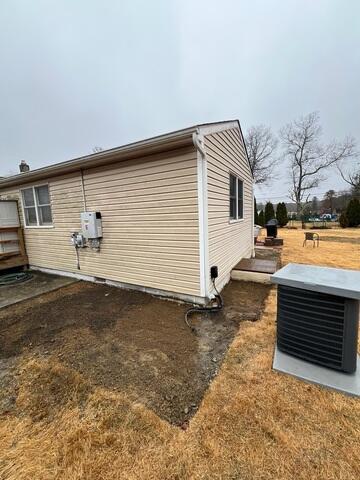
Walkway Installation
After the piers were successfully installed, our team carefully placed back the bricks in the patio/walkway.
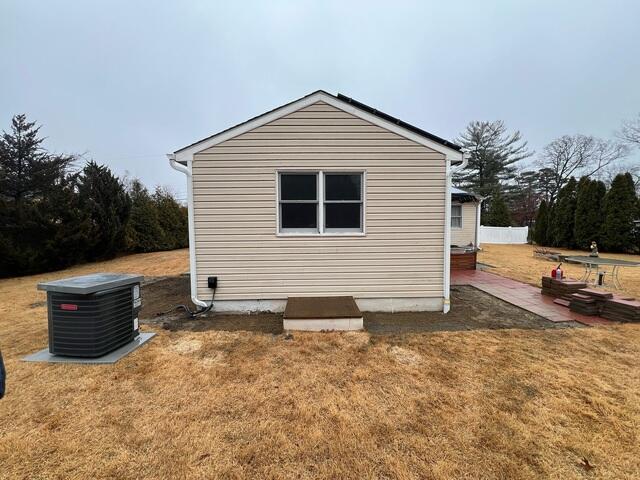
Pier Installation
The piers were put in place successfully, and were buried!
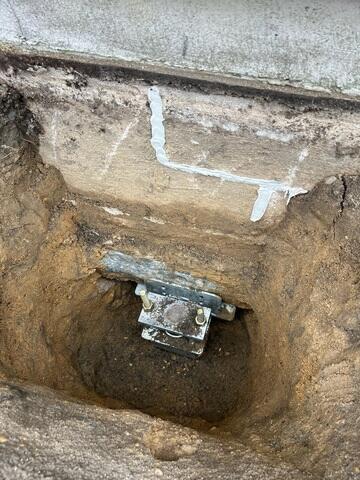
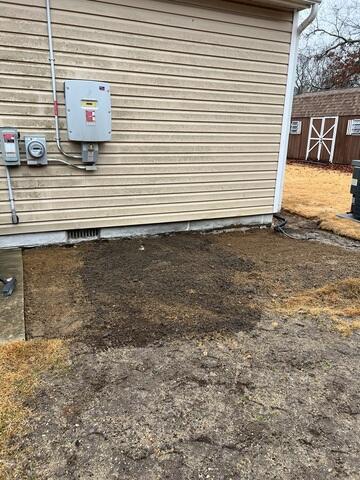
Installation
A photo of one of the Push Piers installed underground.


