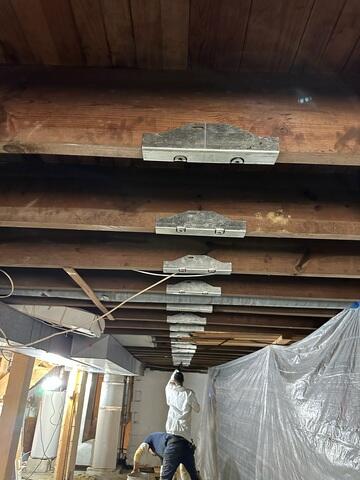
Brackets Are Applied to Floor Joists
Our team started the process by attaching brackets to all of the floor joists to attach to the SmartJack beams.
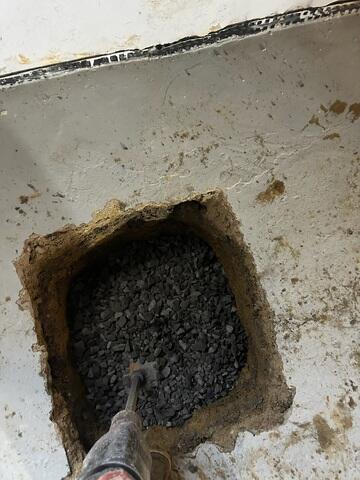
Installing the System - Trenches
Trenches are dug to prepare for the installation of each SmartJack post.
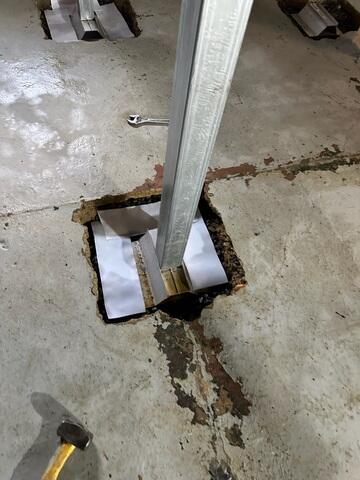
Installing the System - Bases
Each spot has a base that connects to each of the SmartJack beams.
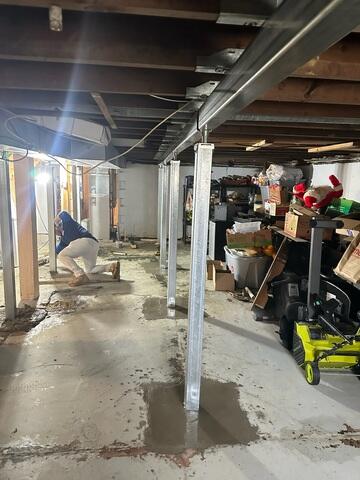
SmartJack Beam Installation
The beams are finally installed, lifting the failing support beam back to its original position and keeping it secure for years to come.


